Today was another fun experiment with even better results than yesterday. Even better, today took far less time to complete. The third recipe in the book was for Choux Pastry Dough on page 32, better known as Pâte à Choux.
I am enjoying how simple these recipes are in regards to the amount of ingredients. As a side note, the recipe calls for superfine sugar, which is somewhere between granulated sugar and powdered (confectioner's) sugar. The purpose of this size is that it dissolves into a liquid much better than regular sugar, and confectioner's sugar often contains cornstarch, which you don't want. Just like yesterday, I used my digital scale to accurately measure the ingredients.
You begin the pâte à choux by bringing the butter, sugar, salt, and a little water to a gentle boil.
While the saucepan was coming to a boil, I sifted the flour and prepared my eggs.
Taking pictures here was difficult, because so much happens so fast. As soon as the ingredients come to a boil, you have to dump in all the flour at once into the saucepan and immediately begin beating the mixture with a wooden spoon. Pretty soon, the mixture will start to come together and you know that you are approaching the correct consistency when it starts to pull away from the sides of the pan. Eventually, the mixture will form a large ball.
Remove from the heat, and then allow it to cool. Then add in your first egg and beat it with the wooden spoon until it is incorporated. Add in the second egg, and keep repeating this process until all the eggs have been mixed in and the mixture is smooth and glossy.
You can either spoon the mixture onto the baking sheet, or pipe the stuff. I always jump at the opportunity to pipe because it is an area that I need practice. Instead of buying, using, and then trying to clean a pastry bag, I use "disposable" bags, otherwise known as Ziploc bags. For this amount of dough, I used a gallon-sized bag.
Cut the tiniest of corners possible with a sharp pair of scissors.
Then add in the base and tip that you prefer.
Screw in the locking piece, and you are ready to go!
I've learned to use a large measuring cup as a holder for the bag while loading.
See? Nice and easy to load in the dough!
You now have a pastry bag, ready to go!
Here is where I got to experiment with both my piping skills and what shapes work best for pâte à choux.
Some shapes worked, some didn't. Still, it was fun to experiment.
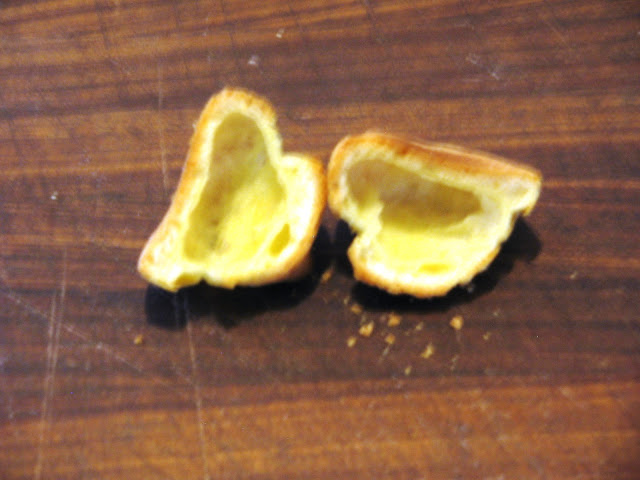
The small, ball-shaped pieces clearly worked best. They certainly raised the best out of all the shapes I tried.
The picture is slightly out of focus (I started to have issues with my camera), but you can see the wonderful cavity that was created. This cavity is what I was hoping to achieve, so I declared this a victory.
The really large discs tried to rise, but failed miserably. When I flipped one of them over you can see where it collapsed on itself.
The same thing seemed to happen to the logs that I tried to make.
So I took the pieces that worked and wanted to have something for The Bride to try when she got home (she was a little upset yesterday that I just threw away the puff pastry).
From my understanding, pâte à choux are normally filled with some sort of cream, but as I haven't learned those yet and didn't want to jump ahead in the book (doing my best to go in order, as stated yesterday), so I settled on a simple raspberry jam filling. I used a quart-sized Ziploc bag with the same setup as before.
Turn the pâte à choux over, insert the tip, and GENTLY squeeze to fill it.
When you bite in, you get a nice surprise!
I filled the rest, which as I write this are sitting in the kitchen, waiting for The Bride to come home and enjoy. If you look closely, you can see hints of the raspberry filling in the large cracks where the dough split a little as it rose.
Quick, simple, and easy to do...this is the kind of thing that I was looking to learn and why I took on this project. Like my grilling blog, I am looking to demystify something to help expand my knowledge of cooking. I like the versatility of this recipe...you can insert a sweet filling for a dessert, or a savory filling for an appetizer. It spends more time in the oven (twenty minutes) than in preparation. Everyone should learn this recipe! Three more pastry recipes to go!


No comments:
Post a Comment